Chapter 10: Building a Home Networking Lab
Practical implementation of networking concepts in a home lab environment
Introduction
This chapter bridges the gap between theoretical networking knowledge and practical implementation by guiding you through setting up your own home networking lab. Building on concepts from previous chapters (IP addressing, routing, switching, security), we'll explore hands-on approaches to reinforce your learning.
By the end of this chapter, you'll be able to:
- Configure physical routers and servers for a home lab
- Simulate networks using Packet Tracer and GNS3
- Design an efficient home lab network topology
- Select budget-friendly hardware for your lab
- Implement virtualization for flexible network testing
- Secure your lab environment
- Troubleshoot common lab issues
Setting Up a Router/Server: Core Lab Components
Physical Router Configuration
Configuring a physical router (like Cisco or TP-Link) is fundamental to your lab. Here's a basic setup process:
Basic Cisco Router Setup
# Access privileged EXEC mode
Router> enable

# Enter global configuration mode
Router# configure terminal

# Configure hostname
Router(config)# hostname HomeLab-R1

# Set console password
HomeLab-R1(config)# line console 0
HomeLab-R1(config-line)# password secure123
HomeLab-R1(config-line)# login

# Enable secret password
HomeLab-R1(config)# enable secret mysecretpass

# Configure an interface
HomeLab-R1(config)# interface gigabitethernet0/0
HomeLab-R1(config-if)# ip address 192.168.1.1 255.255.255.0
HomeLab-R1(config-if)# no shutdown
Server Setup with pfSense
For a budget-friendly router/firewall solution, pfSense is excellent. Here's how to set it up on an old PC:
- Download pfSense ISO from the official website
- Create a bootable USB using tools like Rufus or BalenaEtcher
- Install on your hardware (minimum 1GB RAM, 2 network interfaces)
- Follow the installation wizard (default options are fine for most cases)
- Access the web interface at https://192.168.1.1 (default credentials: admin/pfsense)
- Configure WAN and LAN interfaces
- Set up DHCP server for automatic IP assignment
- Configure NAT for internet sharing
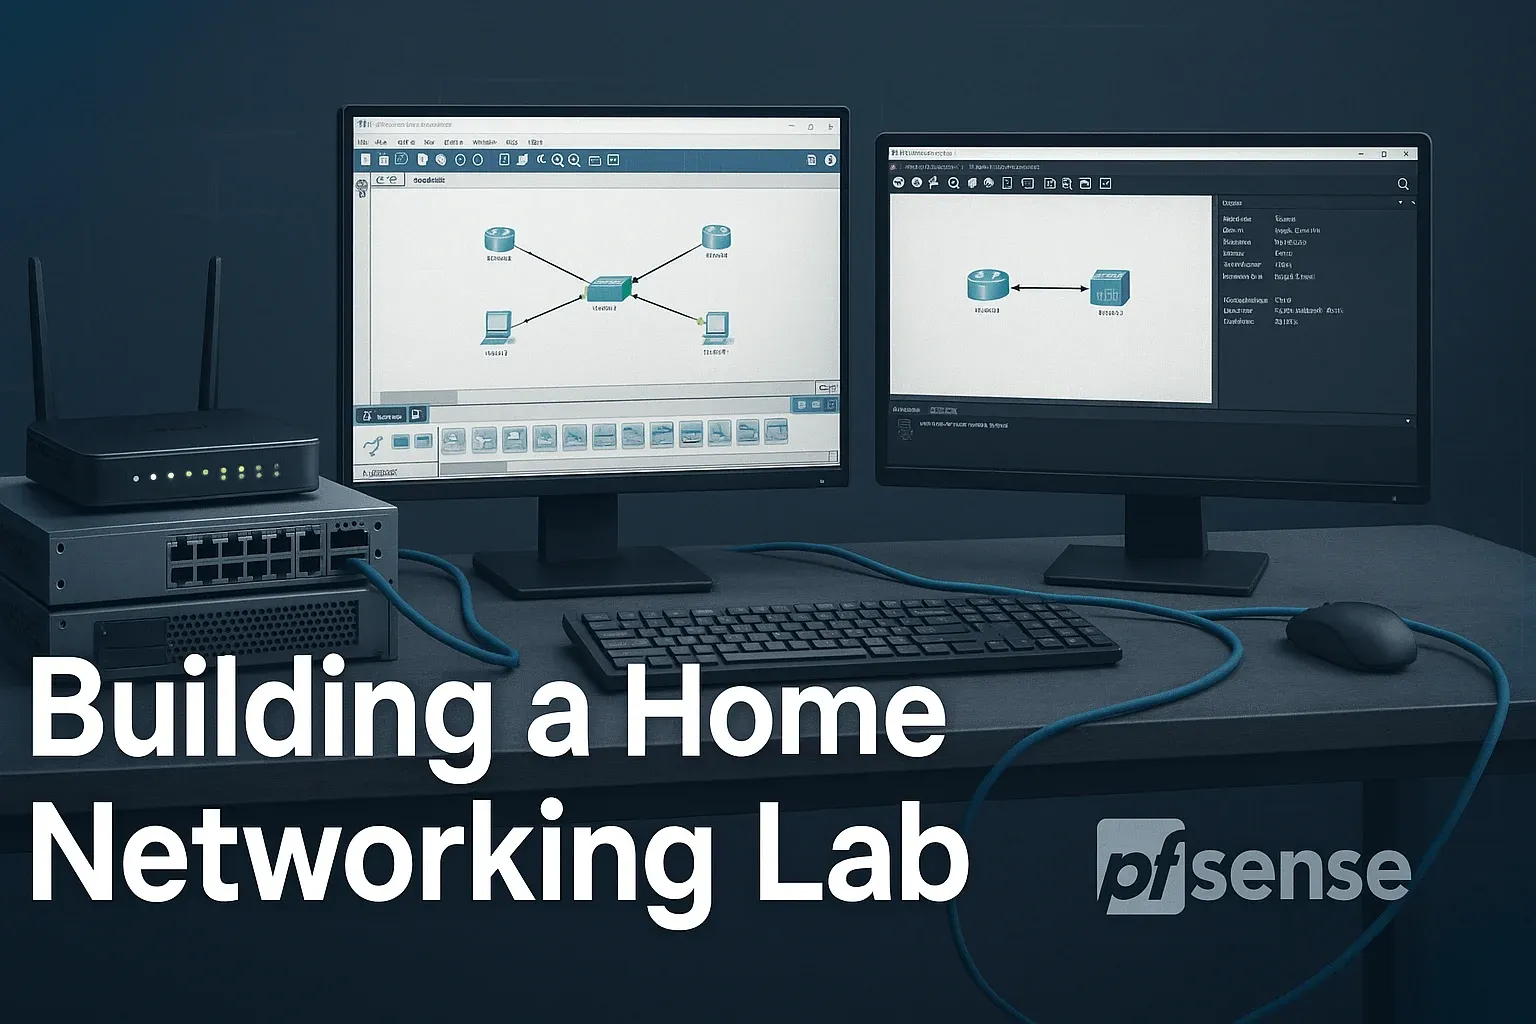
Packet Tracer/GNS3 Tutorials: Simulating Networks
Cisco Packet Tracer Basics
Packet Tracer is ideal for beginners to simulate networks. Let's create a simple LAN:
Creating a Basic LAN
- Open Packet Tracer and create a new project
- Add a 2960 switch and two PCs from the device menu
- Connect them using straight-through cables
- Configure IP addresses on the PCs (e.g., 192.168.1.10/24 and 192.168.1.11/24)
- Test connectivity using the simulation mode
Advanced GNS3 Setup
GNS3 offers more advanced capabilities, including integration with real router images and virtual machines:
GNS3 with Cisco IOS
- Download and install GNS3 (including GNS3 VM if using VMware/ESXi)
- Obtain a Cisco IOS image (legally from Cisco or used hardware)
- In GNS3, create a new project and go to Edit > Preferences
- Under IOS routers, add your image and set platform/model
- Configure RAM and idle values (typically 256-512MB RAM per router)
- Drag routers to workspace and connect them
- Start devices and configure via console
Home Lab Network Design: Planning Your Topology
Designing an effective lab network requires careful planning. Consider these factors:
Topology Choices
- Star topology: Simple, centralized (good for beginners)
- Hybrid topology: Mix of star, mesh, etc. (more realistic)
- Dual-homed: Multiple connections for redundancy
Subnetting Strategy
- Separate subnets for different functions (e.g., 192.168.1.0/24 for management)
- Use VLANs to logically separate traffic
- Plan for growth with private IP ranges (10.0.0.0/8, 172.16.0.0/12)
Example Home Lab Topology
This diagram shows a typical home lab setup with a router, switch, servers, and workstations separated into different VLANs.
Budget Hardware Recommendations: Affordable Lab Gear
Routers
- Cisco 1841: $50-100 on eBay (supports most IOS features)
- TP-Link ER605: $60 new (good for basic routing/VLANs)
- MikroTik hEX: $70 new (powerful for the price)
Switches
- Cisco 2960: $50-150 used (Layer 2 managed switch)
- TP-Link TL-SG108E: $40 new (basic VLAN support)
- HP ProCurve 1810: $80 used (quiet, reliable)
Servers
- Raspberry Pi 4: $50-100 (low-power DNS/web server)
- Dell Optiplex 7010: $100-200 used (great for pfSense)
- HP ProLiant DL380 G7: $200-300 used (enterprise-grade)
Other Components
- USB-to-Console cable: $10-20 (for router configuration)
- Network cables: $10 for a pack of assorted lengths
- Patch panel: $20-50 (for cable organization)
Virtualization for Labs: Running Virtual Networks
Virtualization allows you to run multiple network devices on a single physical machine, saving space and cost.
VirtualBox Setup
- Download and install VirtualBox
- Create a new VM (Linux/Windows/BSD as needed)
- Configure network adapters (NAT, Bridged, Internal Network)
- Install your chosen OS (Ubuntu Server is lightweight)
- Clone VMs to create multiple instances
Proxmox VE
- Download Proxmox VE ISO and create bootable USB
- Install on dedicated hardware (minimum 4GB RAM)
- Access web interface at https://[server-ip]:8006
- Create containers (LXC) or full VMs
- Configure virtual networks and bridges
Virtual Network Example
This visualization shows a host machine running three virtual machines that form a complete network environment.
Network Security in Home Labs: Protecting Your Setup
Essential Security Measures
- Firewall rules: Block unnecessary inbound traffic
- ACLs: Restrict access to management interfaces
- VLAN segregation: Isolate lab traffic from home network
- VPN: Use OpenVPN or WireGuard for secure remote access
- Password policies: Strong, unique passwords for all devices
pfSense Firewall Example
# Block incoming traffic except SSH (adjust interface as needed)
block in on $WAN_NIC all
pass in on $WAN_NIC proto tcp to $WAN_ADDR port 22

# Allow established/related connections
pass out on $WAN_NIC all
pass in on $WAN_NIC proto tcp from any to any flags S/SA keep state
pass in on $WAN_NIC proto udp from any to any keep state

# NAT configuration for internal network
nat on $WAN_NIC from $LAN_NET to any -> ($WAN_NIC)
Troubleshooting Home Lab Issues: Resolving Common Problems
| Issue | Possible Cause | Solution |
|---|---|---|
| No connectivity between devices | Incorrect IP configuration, VLAN mismatch, cable issue | Verify IPs/subnets, check VLAN assignments, test cables |
| Router not forwarding traffic | Missing default route, NAT not configured, ACL blocking | Check routing table, verify NAT rules, review ACLs |
| GNS3 performance issues | Insufficient RAM/CPU, improper idle PC setting | Allocate more resources, set correct idle PC value |
| VMs can't reach internet | Host firewall blocking, incorrect NAT, DNS misconfiguration | Check host firewall, verify NAT settings, test DNS resolution |
Essential Troubleshooting Commands
Cisco IOS
show ip interface brief  # Check interface status
show running-config     # View current configuration
show vlan brief         # Verify VLAN assignments
ping 192.168.1.1       # Test connectivity
traceroute 8.8.8.8     # Trace network path
Linux
ip addr show            # View IP configuration
ping -c 4 192.168.1.1  # Test connectivity
traceroute 8.8.8.8     # Trace network path
netstat -tuln          # Check listening ports
ss -tuln               # Modern alternative to netstat
Practical Example 1: Building a VLAN Network in Packet Tracer
Let's create a network with two VLANs in Cisco Packet Tracer:
Step-by-Step Configuration
-
Add devices:
- 1x 2960 switch
- 4x PCs
- 1x router (1841)
-
Connect devices:
- Connect PCs to switch using straight-through cables
- Connect switch to router using a straight-through cable (switch port 24 to router Gig0/0)
-
Configure VLANs on switch:
enable configure terminal vlan 10 name SALES vlan 20 name ENGINEERING exit interface range fastEthernet 0/1-2 switchport mode access switchport access vlan 10 interface range fastEthernet 0/3-4 switchport mode access switchport access vlan 20 interface gigabitethernet 0/1 switchport mode trunk end -
Configure router-on-a-stick:
enable configure terminal interface gigabitethernet0/0 no shutdown interface gigabitethernet0/0.10 encapsulation dot1Q 10 ip address 192.168.10.1 255.255.255.0 interface gigabitethernet0/0.20 encapsulation dot1Q 20 ip address 192.168.20.1 255.255.255.0 end -
Configure PCs:
- PC1 (VLAN 10): IP 192.168.10.10/24, gateway 192.168.10.1
- PC2 (VLAN 10): IP 192.168.10.11/24, gateway 192.168.10.1
- PC3 (VLAN 20): IP 192.168.20.10/24, gateway 192.168.20.1
- PC4 (VLAN 20): IP 192.168.20.11/24, gateway 192.168.20.1
-
Test connectivity:
- PCs in same VLAN should ping each other
- PCs in different VLANs should ping through router
Summary
In this chapter, we've covered the essential aspects of building a home networking lab:
- Learned to configure physical routers and servers for hands-on practice
- Explored network simulation with Packet Tracer and GNS3
- Designed effective home lab topologies with proper subnetting
- Identified budget-friendly hardware options for building a lab
- Implemented virtualization to maximize lab flexibility
- Applied security measures to protect our lab environment
- Developed troubleshooting skills for common lab issues
These practical skills complement the theoretical knowledge from previous chapters and prepare you for real-world networking scenarios.
Further Reading
- "Network Warrior" by Gary Donahue - Practical networking guide
- Cisco Packet Tracer Tutorials - Official Cisco learning resources
- GNS3 Documentation - Comprehensive guides for advanced simulations
- pfSense Documentation - Detailed firewall/router setup instructions
- "Virtualization Essentials" by Matthew Portnoy - Foundation for virtual labs
- Homelab subreddit (r/homelab) - Community for lab enthusiasts